Guide
How to compost
June 29, 2026 · 3 min read
Composting is the simple process of turning kitchen scraps and yard waste into dark, rich, living soil — for free. It's the single most valuable habit a gardener can build, because compost does two jobs at once: it diverts waste from the landfill, and it gives you the best possible food for your soil, full of organic matter and beneficial microbes. You don't need a fancy bin or any special skill — just a balance of the right materials, a little air, and some patience. Here's how to compost, start to finish.
Why compost?
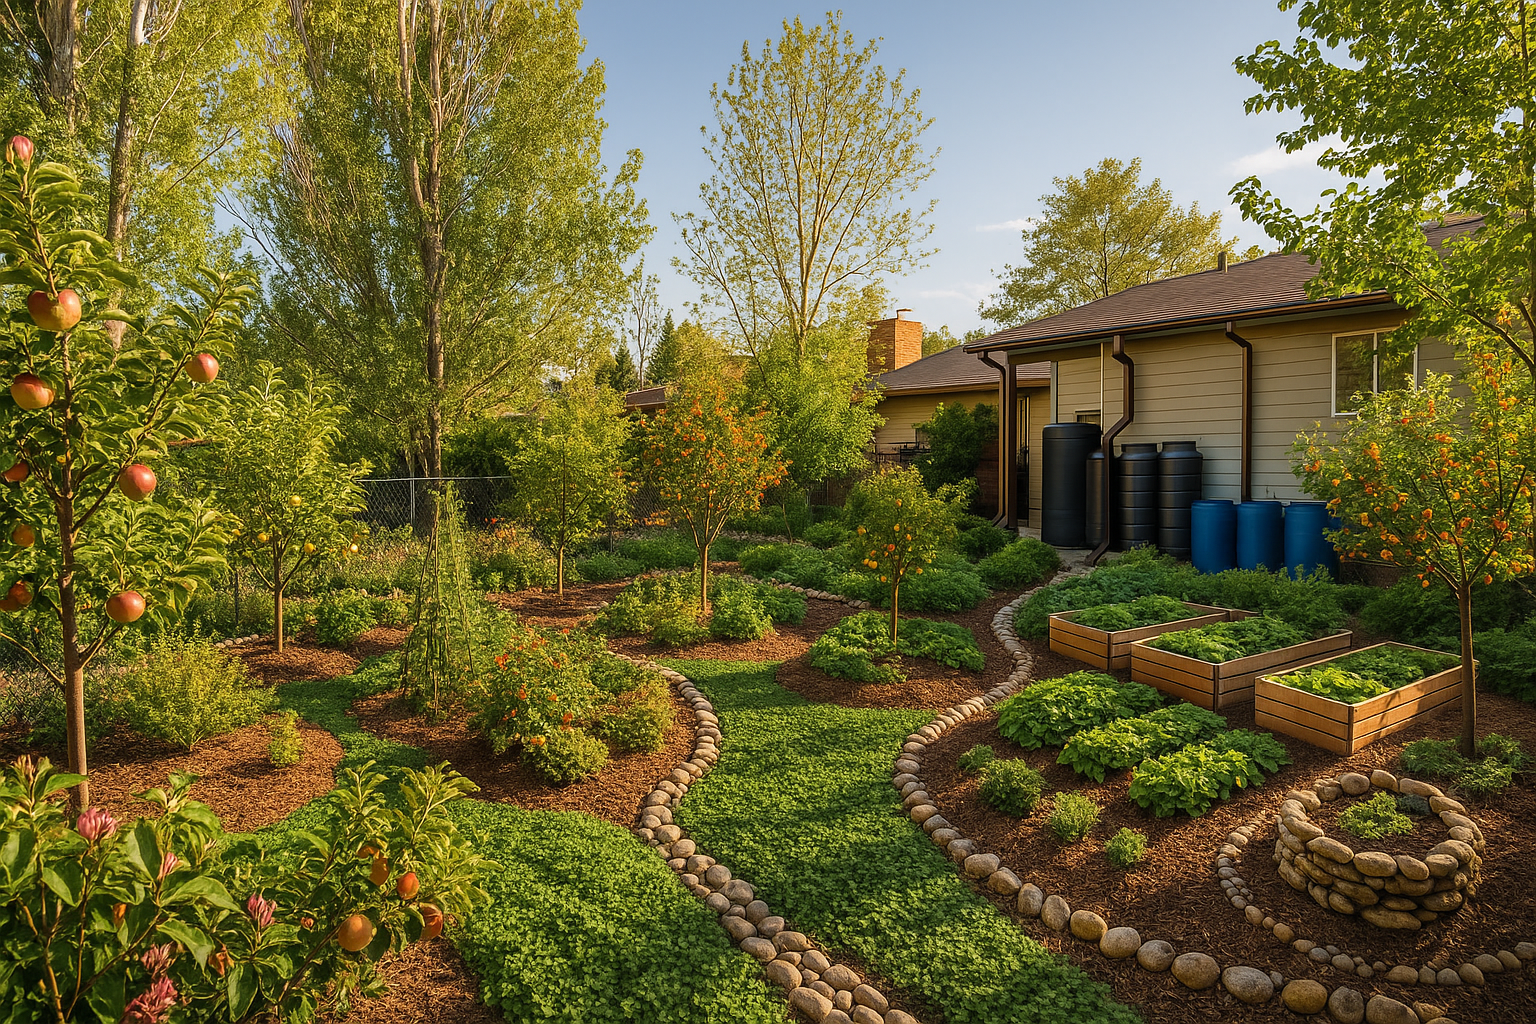
Compost is the closest thing there is to garden gold. Adding it to your soil feeds the soil food web — the bacteria, fungi, and other organisms that cycle nutrients to your plants — and it builds the organic matter that lets soil hold water like a sponge. Unlike a bag of synthetic fertilizer, which feeds the plant once and degrades the soil over time, compost feeds the whole living system, and that system keeps feeding your plants for free, year after year. Composting is also how you "close the loop" in a regenerative garden: your scraps and trimmings become next season's fertility instead of waste.
What to compost: greens and browns
Good compost comes down to balancing two kinds of material:
- Greens (nitrogen-rich, wet): fruit and vegetable scraps, coffee grounds, fresh grass clippings, green plant trimmings, eggshells.
- Browns (carbon-rich, dry): dead leaves, straw, shredded cardboard and paper, wood chips, dried plant stalks.
Aim for more browns than greens by volume — very roughly two to three parts brown to one part green. Browns provide the carbon and the structure that keeps the pile airy and odor-free; greens provide the nitrogen that fuels the microbes. Get that balance right and composting mostly takes care of itself.
Leave out meat, fish, dairy, oily or greasy food, and pet waste in a home pile — they attract rodents, smell, and can carry pathogens.
How to build a compost pile (step by step)
- Pick a spot or bin. A simple pile, a wire enclosure, or a basic bin all work. Aim for a volume of at least a cubic yard (about 3×3×3 feet) so it can hold heat, in a spot with some shade and drainage.
- Start with browns. Lay down a base of coarse browns — straw, small sticks, or wood chips — for airflow at the bottom.
- Layer greens and browns. Add materials as you generate them, roughly two to three parts brown for every part green. If you add a big scoop of kitchen scraps, cover it with a layer of dry leaves or cardboard.
- Keep it moist, not soggy. The pile should feel like a wrung-out sponge. Add water if it's dry; add browns if it's soggy.
- Give it air. Turn the pile every week or two with a fork to add oxygen and speed decomposition — or skip turning and simply build in extra browns for airflow if you prefer the low-effort route.
- Wait. The microbes do the rest.
Hot vs. cold composting
There are two broad approaches, and both work:
- Hot composting balances greens and browns, keeps the pile moist, and turns it regularly. The microbial activity heats the pile up (often 130–150°F), which breaks everything down fast — finished compost in roughly one to three months — and kills weed seeds and pathogens in the process.
- Cold composting is the lazy gardener's method: just add materials over time and leave the pile alone. It doesn't heat up much and takes 6–12 months, but it's nearly effortless and produces excellent compost in the end.
Neither is "better" — choose based on how fast you want results and how much effort you want to put in.
When it's ready — and how to use it
Compost is finished when it's dark, crumbly, and sweet-smelling, like rich forest soil, and you can no longer recognize the original scraps. Use it generously:
- Top-dress your beds — spread an inch or two over the surface and let the soil life pull it down (this is the heart of no-dig gardening).
- Mix it into planting holes for trees, shrubs, and transplants.
- Mulch around plants to feed the soil and hold moisture.
Every bit of compost you make and return to the soil is fertility you didn't have to buy — and the living foundation of a thriving, regenerative garden. It's exactly the soil-first approach behind every food forest we design.
Frequently asked questions
What can I compost?
Compost a mix of 'greens' (fresh, nitrogen-rich materials like fruit and vegetable scraps, coffee grounds, fresh grass clippings, and plant trimmings) and 'browns' (dry, carbon-rich materials like dead leaves, straw, cardboard, and wood chips). Avoid meat, dairy, oily foods, and pet waste in a home pile, as they attract pests and can smell.
How long does compost take?
Anywhere from a few weeks to a year, depending on your method. A well-balanced, regularly turned 'hot' pile can finish in 1–3 months; a 'cold' pile you simply add to and leave alone takes 6–12 months. Either way, it's done when it's dark, crumbly, sweet-smelling, and you can't recognize the original materials.
Why is my compost smelly?
A bad smell almost always means too many greens (too much nitrogen and moisture) and not enough air. Mix in more browns — dry leaves, straw, shredded cardboard — and turn the pile to add oxygen. Healthy compost smells earthy and sweet, like a forest floor, not rotten.
Do I need to turn my compost?
No, but it speeds things up. Turning adds oxygen, which the microbes need to break material down quickly, so a turned pile finishes much faster and hotter. If you'd rather not, just build the pile with plenty of browns for airflow and let time do the work — it will still become compost, only slower.
Want this designed into your land?
We design regenerative food forests — living soil, water, and plants working together — done-for-you in Colorado and guided nationwide.
Book your Eden Yard Audit™